
Mold in bathroom or kitchen caulk can look bad and even cause health problems. I’ve dealt with this in my own home, and I know how frustrating it can be. If you see black or green spots around your tub, sink, or tiles, that’s mold growing in the caulk.
You might be wondering, “Can I clean it, or do I need to replace it?” Don’t worry. In this guide, I’ll walk you through how you can remove mold from caulk safely and easily at home.
My Ideas for Removing Molk from Caulk
1. What Causes Mold on Caulk?
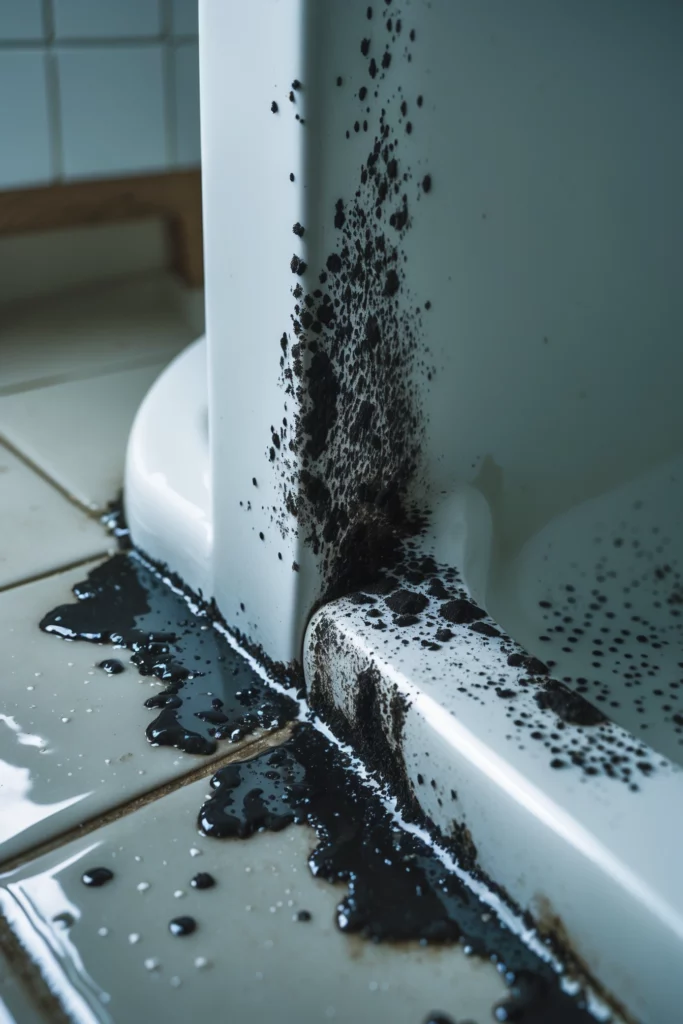
Before cleaning, it helps to know why mold grows on caulk. Mold loves places that are warm, damp, and have poor airflow. Bathrooms and kitchens are the perfect spots. If your caulk stays wet for a long time or if the room doesn't have good ventilation, mold can start growing.
I learned this the hard way after taking hot showers every day without using a fan. So remember, moisture is the main reason!
2. What You’ll Need
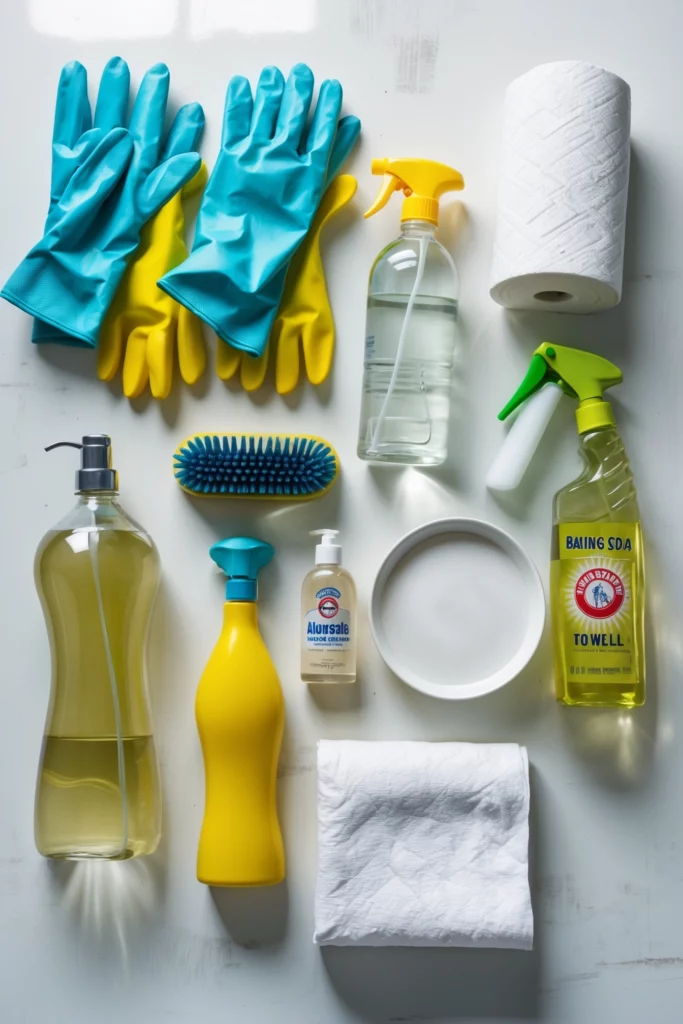
Here’s a list of things you’ll need to clean the mold. You probably already have most of them at home:
- Gloves
- Mask (optional, but helps with strong smells)
- Old toothbrush or scrubbing brush
- Paper towels or cleaning cloth
- Spray bottle
- White vinegar or bleach
- Baking soda (optional)
- Dish soap
- Warm water
If you don’t want to use harsh chemicals, don’t worry—I’ll also share a natural method that worked for me.
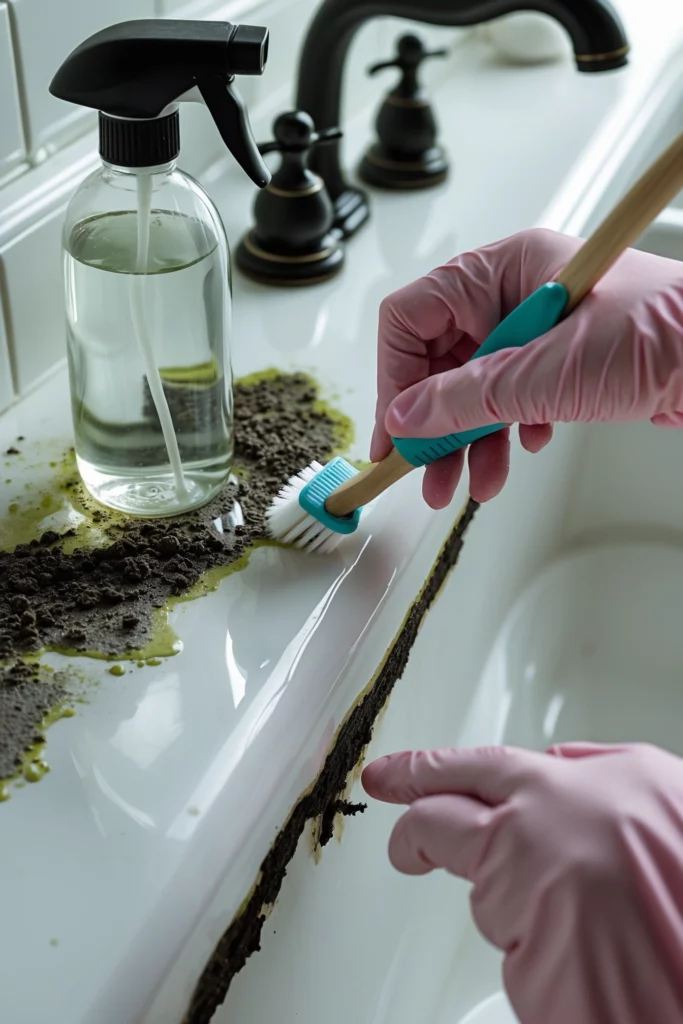
3. Natural Cleaning Method (Using Vinegar and Baking Soda)
If you're like me and prefer natural cleaning, try this first.
- Spray vinegar directly on the moldy caulk. Let it sit for at least 30 minutes.
- Make a paste of baking soda and water.
- Use a toothbrush to scrub the paste on top of the vinegar-treated area.
- Wipe the caulk clean with warm water and a cloth.
This method works great for light mold stains. I used it on my kitchen sink, and it made a big difference.
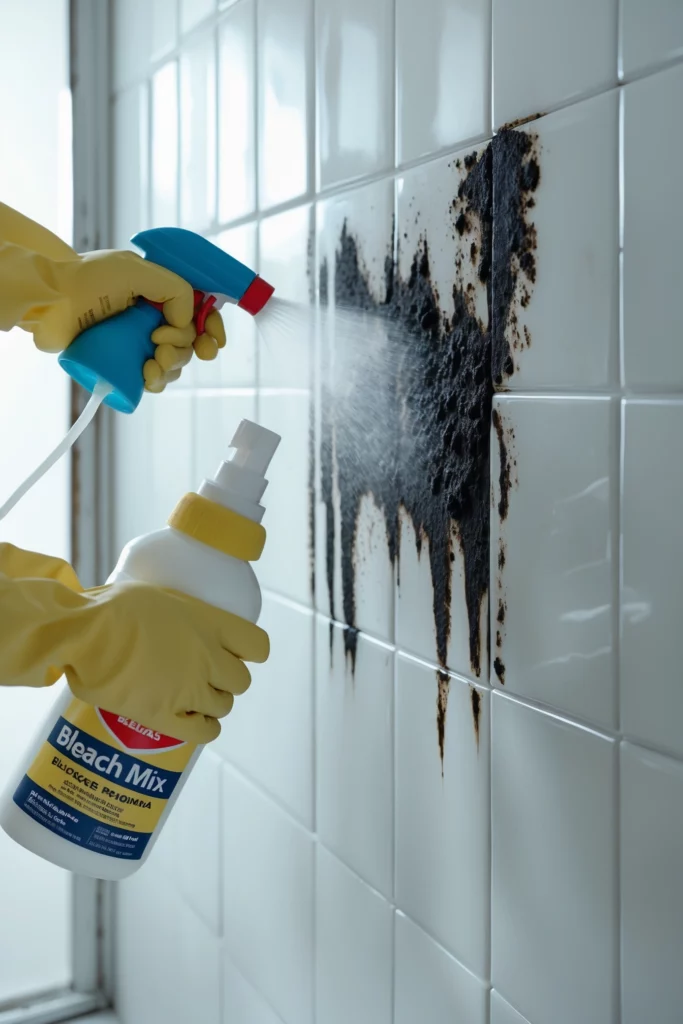
4. Using Bleach for Tough Mold
Sometimes the mold is deep in the caulk, and vinegar isn’t enough. That’s when I turn to bleach—but carefully!
- Mix 1 part bleach with 10 parts water in a spray bottle.
- Spray the bleach solution on the moldy caulk.
- Let it sit for 10–15 minutes (make sure windows are open for airflow).
- Scrub with a brush and rinse well with warm water.
Be sure to wear gloves, and don’t mix bleach with vinegar or other cleaners. I did that once and learned it’s dangerous.
5. When Should You Replace the Caulk?
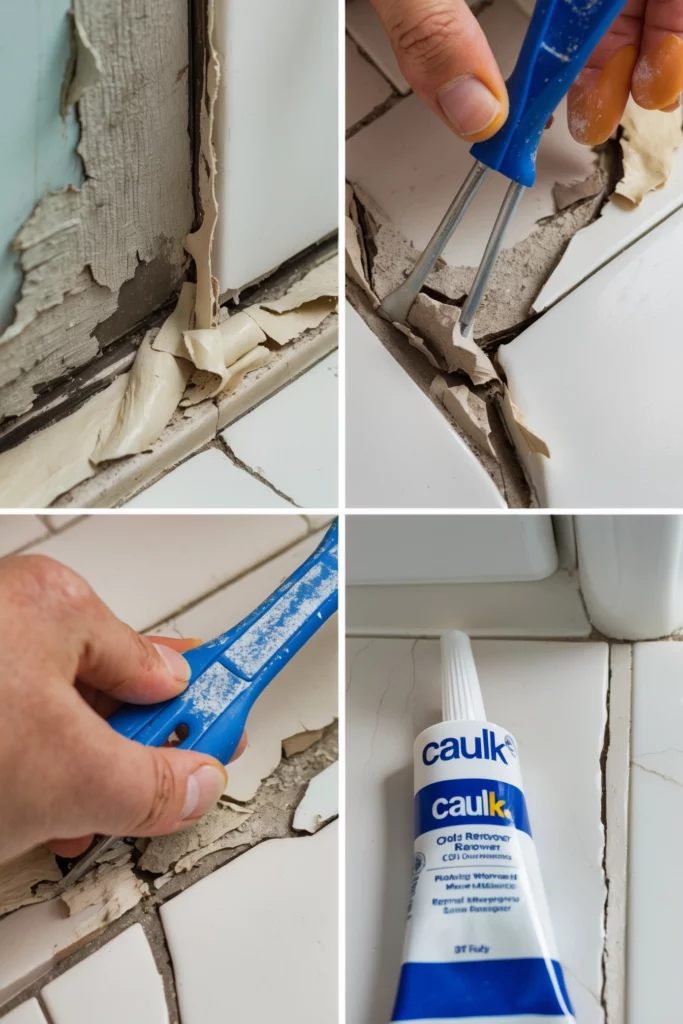
If the mold keeps coming back or if the caulk is cracked and peeling, it’s better to remove it completely. I had to do this in my shower because the mold was under the surface.
You can buy a caulk removal tool from any hardware store. It’s easy to use—just scrape the old caulk off, clean the area, and apply new mold-resistant caulk. Let it dry for 24 hours before using water again.
6. Tips to Prevent Mold in the Future
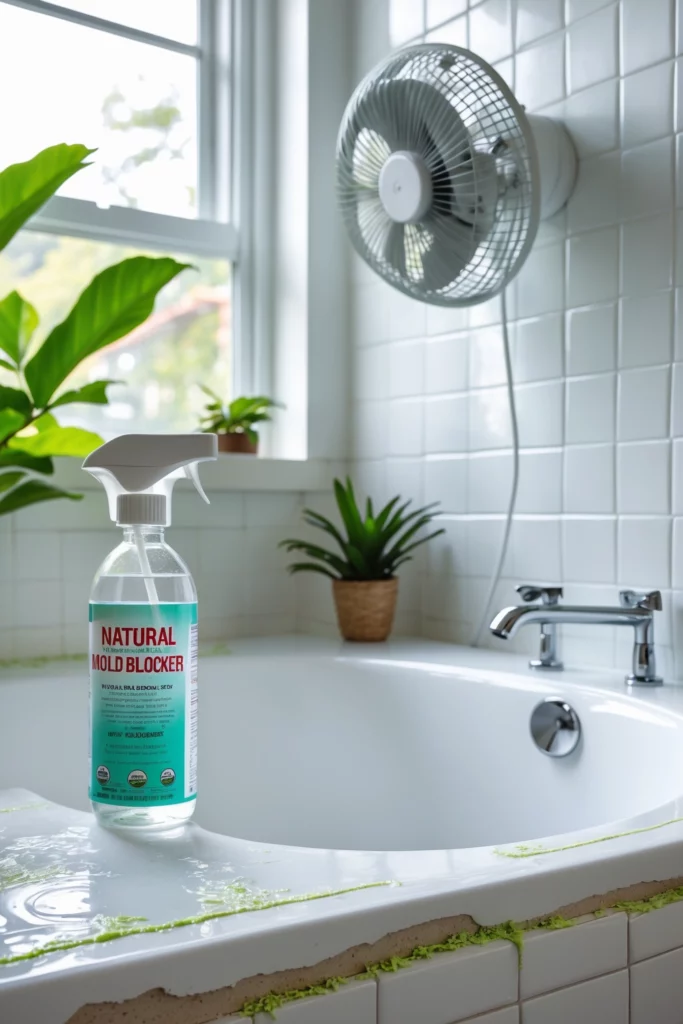
Once you’ve cleaned or replaced your caulk, keep it mold-free with these simple tips:
- Always dry the area after using the sink or shower.
- Keep a small fan running during showers or open a window.
- Use a squeegee to remove water from tiles.
- Spray vinegar weekly as a natural mold blocker.
I follow these steps now, and they’ve helped me keep my bathroom clean and fresh.
Final Thoughts
Removing mold from caulk isn’t fun, but it’s totally doable with the right steps. I’ve cleaned it many times myself and learned what works best. Whether you go natural or use bleach, the key is to act early and keep the area dry after cleaning.
Now that you know what to do, you can get started today and enjoy a cleaner, healthier space. Mold doesn’t stand a chance if you stay on top of it!

Hi, Ehtesham Here, I like to upload content about fashion and scents, and I love sharing ideas. My goal is to help others in finding outfits and Scents.