
Deep cleaning a home can feel overwhelming, especially when time is limited. I understand the challenge of wanting a thorough clean without spending hours on every task. The goal is to refresh your space efficiently while covering the essential areas that truly make a difference.
This article will show you how to deep clean your home fast by focusing on six practical methods that save time and effort. These steps are designed to help you get a thorough clean without unnecessary delays, so your home feels fresh and well cared for in less time.
Start from the top: dust ceiling fans, light fixtures, and vents
I always begin deep cleaning by dusting ceiling fans and light fixtures. These areas collect a surprising amount of dust and allergens, which can spread when fans are turned on. Using a pillowcase to cover each fan blade helps trap dust without making a mess.
Light fixtures also need gentle attention. I use a microfiber cloth to wipe them down carefully. This removes dust without damaging delicate surfaces or bulbs.
Vents are often overlooked but important. Cleaning them ensures better airflow and can improve air quality. I wipe the vent covers and sometimes vacuum inside to clear dust buildup.
Starting from the top prevents dust from falling onto already cleaned surfaces. It saves time because I don’t have to redo floors or furniture later. This methodical approach is an efficient way to keep my home fresh and clean. For more tips, see cleaning ceiling fans and fixtures.
Use a microfiber cloth for dusting to trap particles efficiently
I always reach for a microfiber cloth when dusting because it traps dust particles instead of just moving them around. Its fine fibers attract dust, pollen, and pet hair from surfaces like wood, glass, and leather effectively.
I dampen my cloth slightly with water to avoid leaving streaks while still capturing fine dust. Keeping the cloth just damp enough makes cleaning easier and more thorough.
When using a dual-sided microfiber cloth, I use the ribbed side for scrubbing and the fluffy side for dusting. This helps me tackle different surfaces without switching tools.
Folding the cloth neatly also improves control and ensures I don’t miss spots. It allows me to apply even pressure and clean more methodically.
Using microfiber cloths regularly reduces the need for disposable wipes or paper towels, making my cleaning routine more efficient and environmentally friendly.
For detailed microfiber cloth tips, check out this guide on how to use them correctly.
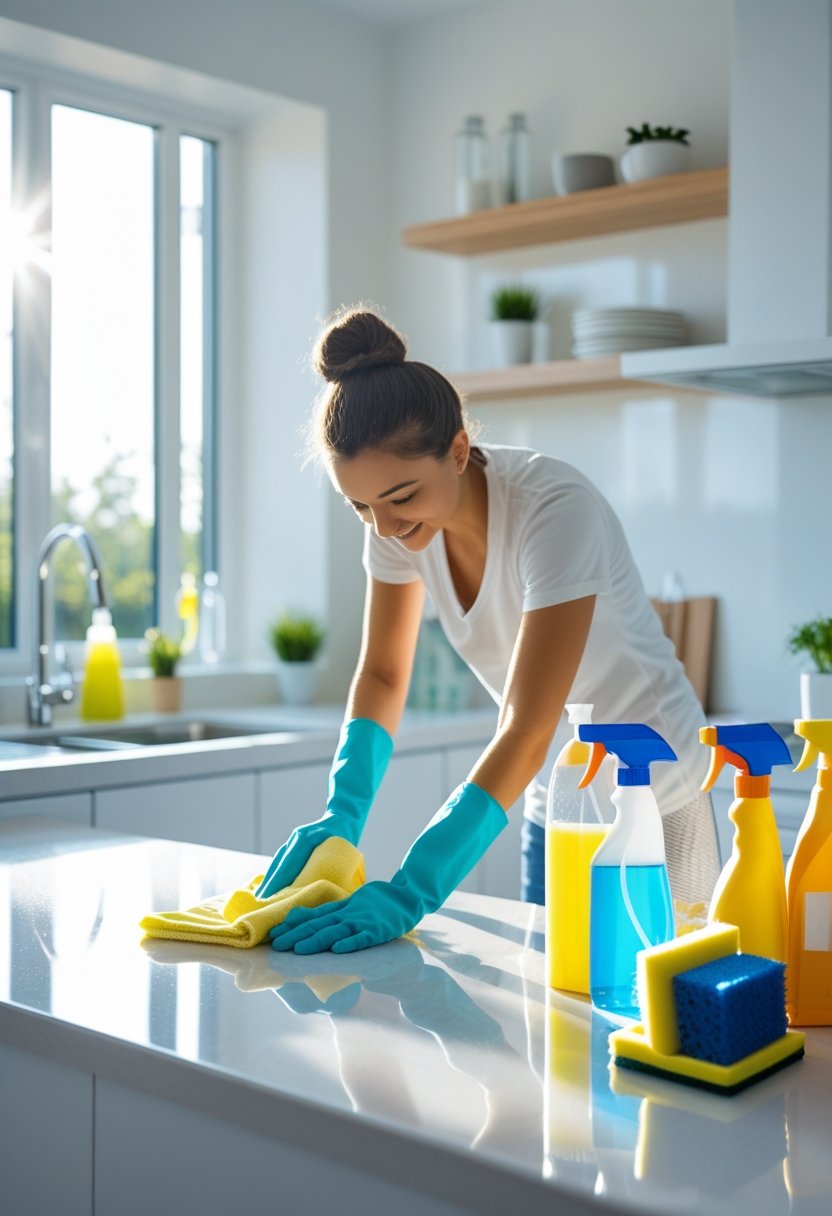
Clean kitchen appliances with a baking soda and vinegar solution
I start by making a baking soda paste using half a cup of baking soda mixed with a few tablespoons of water. This paste works well on stubborn stains inside appliances like ovens.
Next, I spread the paste on the surface and let it sit for at least 20 minutes. For extra tough grime, I let it sit overnight.
Then, I spray vinegar over the baking soda paste. The mixture fizzes, helping to break down grease and dirt.
After a few minutes, I wipe everything clean with a damp cloth or sponge. This method is safe, non-toxic, and effective for deep cleaning appliances.
I also use a toothbrush dipped in baking soda to reach crevices and tight spots on appliance exteriors. Then, I wipe down with a vinegar and water solution to remove residue and leave a fresh finish.
This simple combination saves time and avoids harsh chemicals while keeping my kitchen appliances clean and safe to use. You can find detailed instructions on cleaning with baking soda and vinegar on sites like Martha Stewart.
Vacuum carpets and upholstery thoroughly, including under furniture
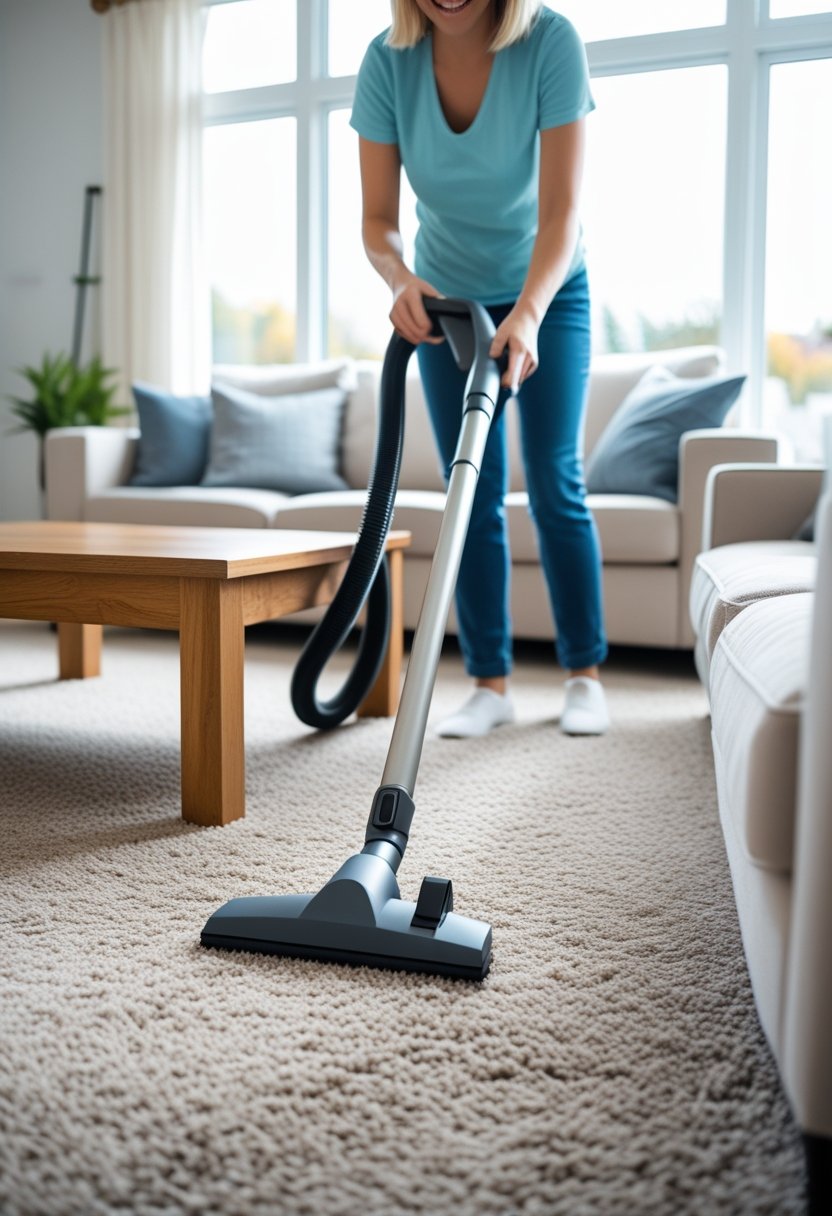
I start by moving furniture as much as possible to expose hidden areas. Vacuuming under and around furniture helps remove dust and dirt that often go unnoticed. This step ensures a more even and thorough cleaning.
I use a vacuum with strong suction and multiple attachments. The crevice tool is great for tight spaces and edges. For upholstery, I switch to the brush attachment to lift dirt without damaging the fabric.
I never rush this process. Taking the time to go over all surfaces carefully prevents dirt buildup and extends the life of my carpets and furniture. Regular vacuuming, combined with deep cleaning periodically, keeps my home healthier and more comfortable.
If stains or spots appear, I address them immediately before vacuuming again. This keeps my upholstery and carpet looking better for longer. Deep cleaning at least once a year complements weekly vacuuming, especially in high-traffic areas. For more detailed guidance, visiting this vacuum carpet right way article can be helpful.
Declutter and organize one room before moving to the next
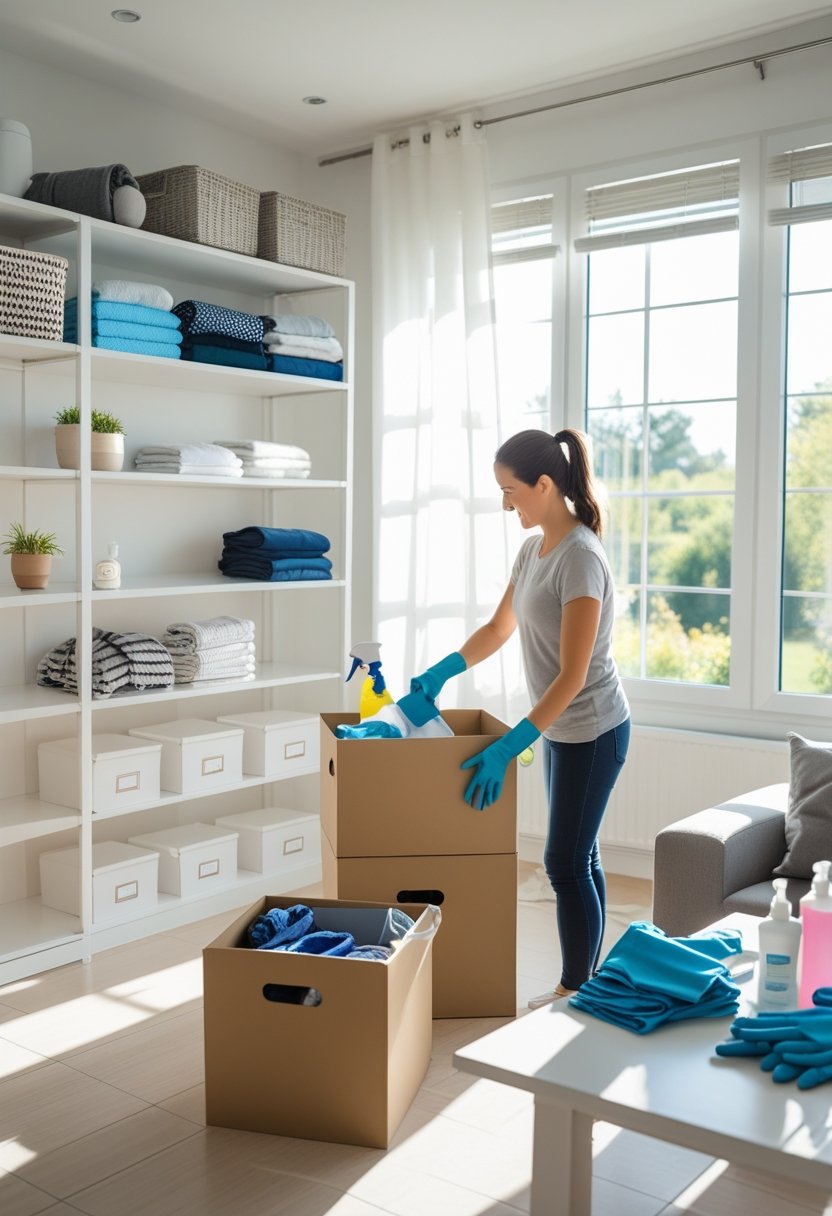
I find it most effective to focus on one room at a time when deep cleaning. This means fully decluttering and organizing that space before moving on. It keeps the task manageable and helps me see progress clearly.
I start by sorting items into categories: things to keep, donate, trash, or relocate. Having bins or boxes ready for this process makes it simpler. This way, I can quickly decide where each item belongs without getting overwhelmed.
Once I remove unnecessary items, I organize what remains according to its function and location in the room. I think about where I’ll use each item daily and try to store it nearby for convenience.
Using a room-by-room approach allows me to be thorough. I’m not distracted by other spaces, which speeds up the process without sacrificing quality. This method is recommended by professionals for effective home decluttering and organizing. You can read more about this method from The Spruce.
Disinfect high-touch areas like doorknobs, switches, and remote controls
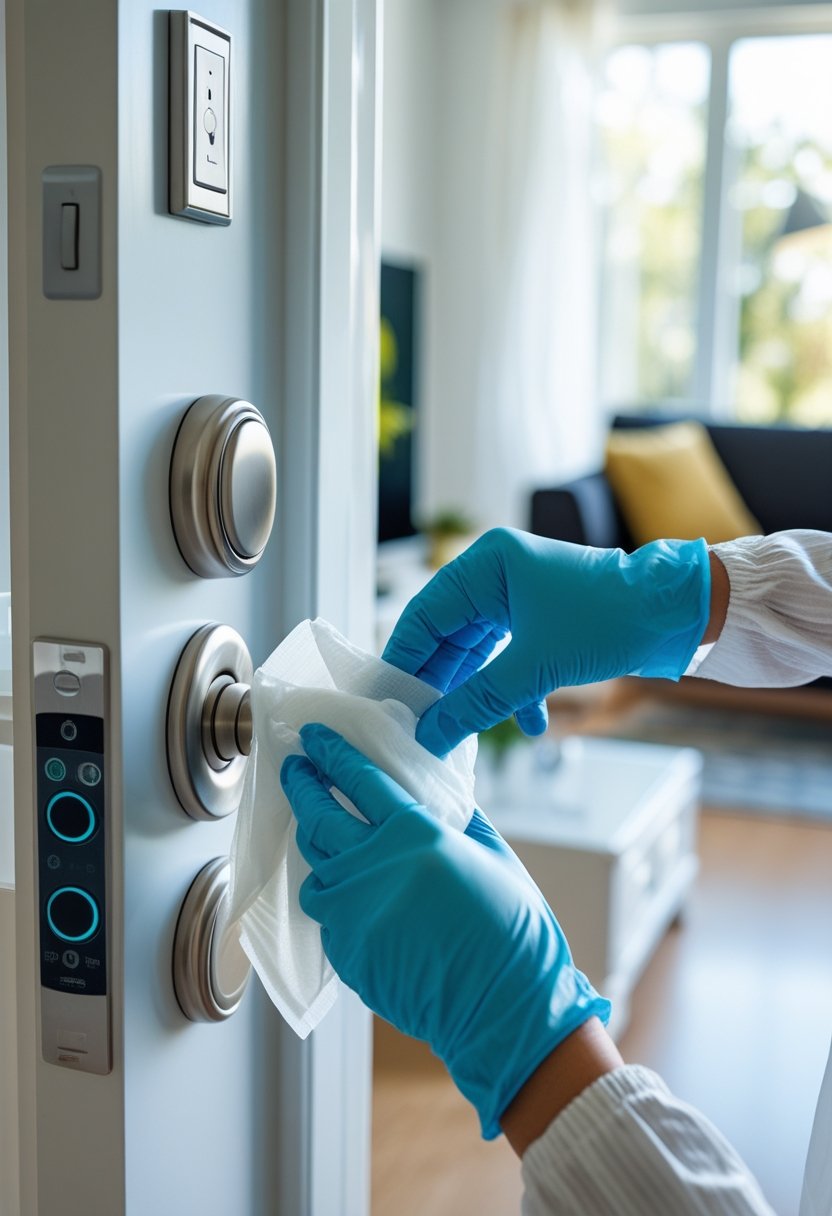
I always start by identifying the spots that get touched the most, such as doorknobs, light switches, and remote controls. These surfaces can harbor germs because many people come into contact with them frequently throughout the day.
To disinfect properly, I use a suitable cleaner for the material—some surfaces need gentle products, while others can handle stronger disinfectants. I make sure to wipe each area thoroughly, paying close attention to edges and crevices.
It helps to disinfect these spots at least once a day, but during busy times or flu season, I increase the frequency. After wiping, I let the surfaces air dry to ensure the disinfectant works effectively without leaving residues.
I find that consistent attention to these high-touch areas reduces the risk of spreading bacteria and viruses in the home. This simple step is a key part of a fast, deep cleaning routine that I trust. You can learn more about targeting these surfaces at Molly Maid’s guide on sanitizing high-touch areas.
Scrub bathroom tiles and grout with a bleach-based cleaner
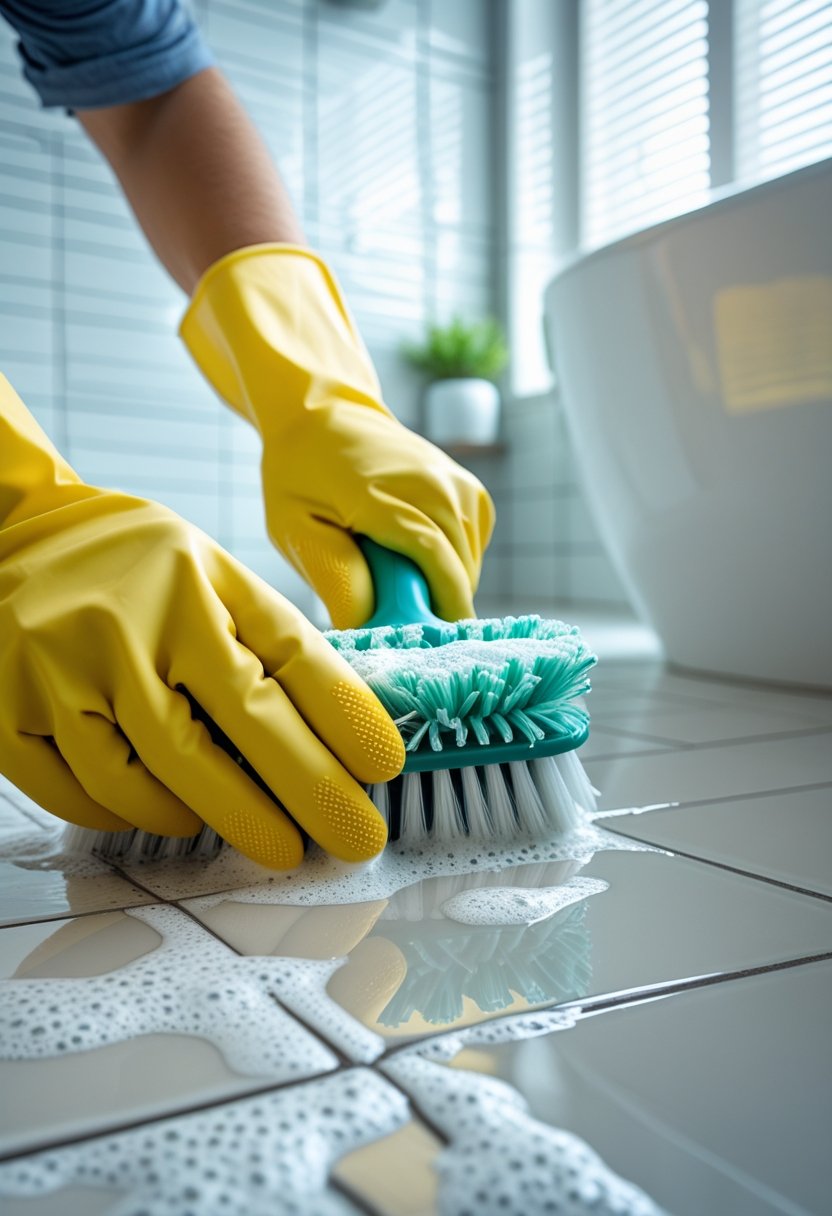
I start by mixing a bleach solution with equal parts water in a spray bottle. This dilution helps ensure the bleach is strong enough to clean without damaging the grout or tiles.
I always wear protective gloves and eye protection before applying the bleach. Safety is important when handling bleach to avoid skin irritation or accidental splashes.
Next, I spray the bleach mixture directly onto the grout lines. After letting it sit for a few minutes, I use a medium-bristle brush or an old toothbrush to scrub the grout thoroughly.
Once I finish scrubbing, I rinse the area well with warm water to remove all bleach residue. Then, I dry the tiles and grout using a clean cloth to prevent mildew from forming in the damp areas.
If the grout is older or porous, I often reseal it after cleaning. This step protects the grout from future stains and helps maintain a fresh, clean appearance. For more details on this process, see how to clean bathroom tile grout with bleach.
Planning Your Deep Clean

To tackle a deep clean efficiently, I focus on clear timing and having the right tools ready. This helps me avoid wasted effort and ensures I don’t rush or forget key areas.
Setting Realistic Timeframes
I start by estimating how long each room or task will take. For example, thorough kitchen cleaning often requires about 1 to 2 hours, while bedrooms or living areas can take 45 minutes to an hour each. I break the deep clean into manageable blocks with short breaks to keep my energy up.
I also consider my daily schedule and choose times when I’m least likely to be interrupted. If I only have a couple of hours, I prioritize high-impact areas like bathrooms and kitchens first. Setting a timer helps me stay on track.
I find that calling out specific tasks, like “dusting ceiling fans for 15 minutes” or “vacuuming carpets for 30 minutes,” keeps me realistic and focused on what’s actually achievable.
Essential Supplies Checklist
I gather all necessary supplies before I begin to avoid wasting time searching mid-clean. My must-haves include:
- All-purpose cleaner
- Glass cleaner
- Microfiber cloths
- Scrubbing brushes
- Vacuum with attachments
- Trash bags
- Gloves
Sometimes I add specialized items such as descaling solution for faucets or disinfectant for high-touch surfaces.
I keep everything organized in a caddy or bucket to move easily from room to room. This setup helps me concentrate on cleaning rather than gathering tools repeatedly.
Having the right supplies ready supports a smoother, faster deep clean and lets me focus fully on thorough results.
For more detailed guidance, check how to plan and equip yourself for a deep clean here.
Maintaining Cleanliness After Deep Cleaning
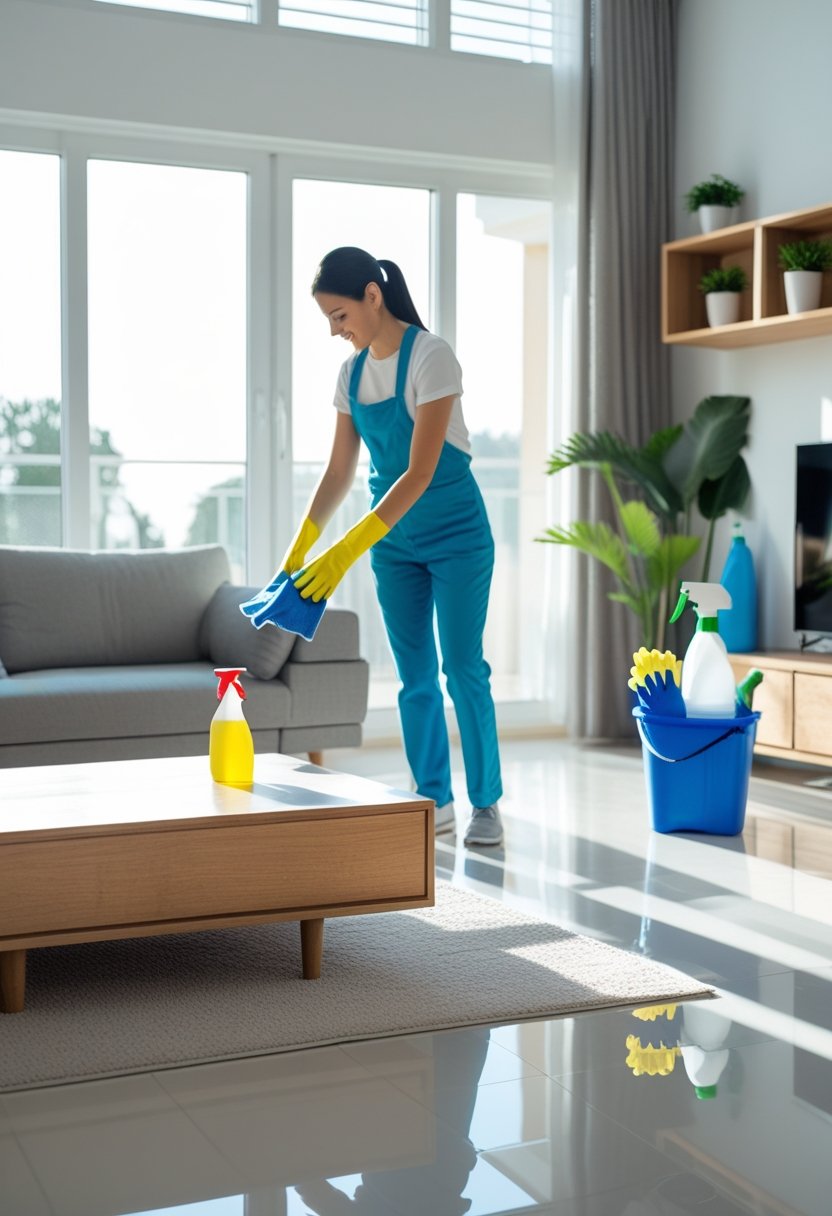
Keeping a clean home requires consistent effort after a deep clean. The right daily routines and a planned schedule help me avoid clutter buildup and keep my space fresh without extra strain.
Daily Habits to Prevent Clutter
I focus on small daily tasks that stop mess from accumulating. I make it a habit to put items back in their designated places immediately after use. This prevents clutter piles from forming and makes my space look orderly.
I also wipe down surfaces daily, especially in high-traffic areas like the kitchen and bathroom. This controls dust and grime before they set in. Using a microfiber cloth and a simple cleaner takes just minutes but maintains a noticeable level of cleanliness.
Another habit I rely on is sorting mail and papers as soon as I bring them in. This avoids paper clutter on counters and tables. A basket or file system next to the entryway helps me manage these items quickly.
Scheduling Regular Mini-Cleans
I schedule short, focused cleaning sessions several times a week. These mini-cleans only take about 15 to 30 minutes but target specific areas like bathroom sinks, kitchen counters, or vacuuming high-traffic carpet sections.
Using a checklist helps me stay organized. I break down areas to clean into small, manageable tasks assigned to different days. This prevents the need for exhausting, lengthy cleaning sessions later.
I also set reminders on my phone or calendar for these mini-cleans. Consistency is key to maintaining a freshly deep-cleaned home. This approach balances my time efficiently while preserving the thorough clean I want to keep.
For more tips on maintaining home cleanliness, you can review practical how-to tips.

Hi, Ehtesham Here, I like to upload content about fashion and scents, and I love sharing ideas. My goal is to help others in finding outfits and Scents.